
Last updated November 21, 2026
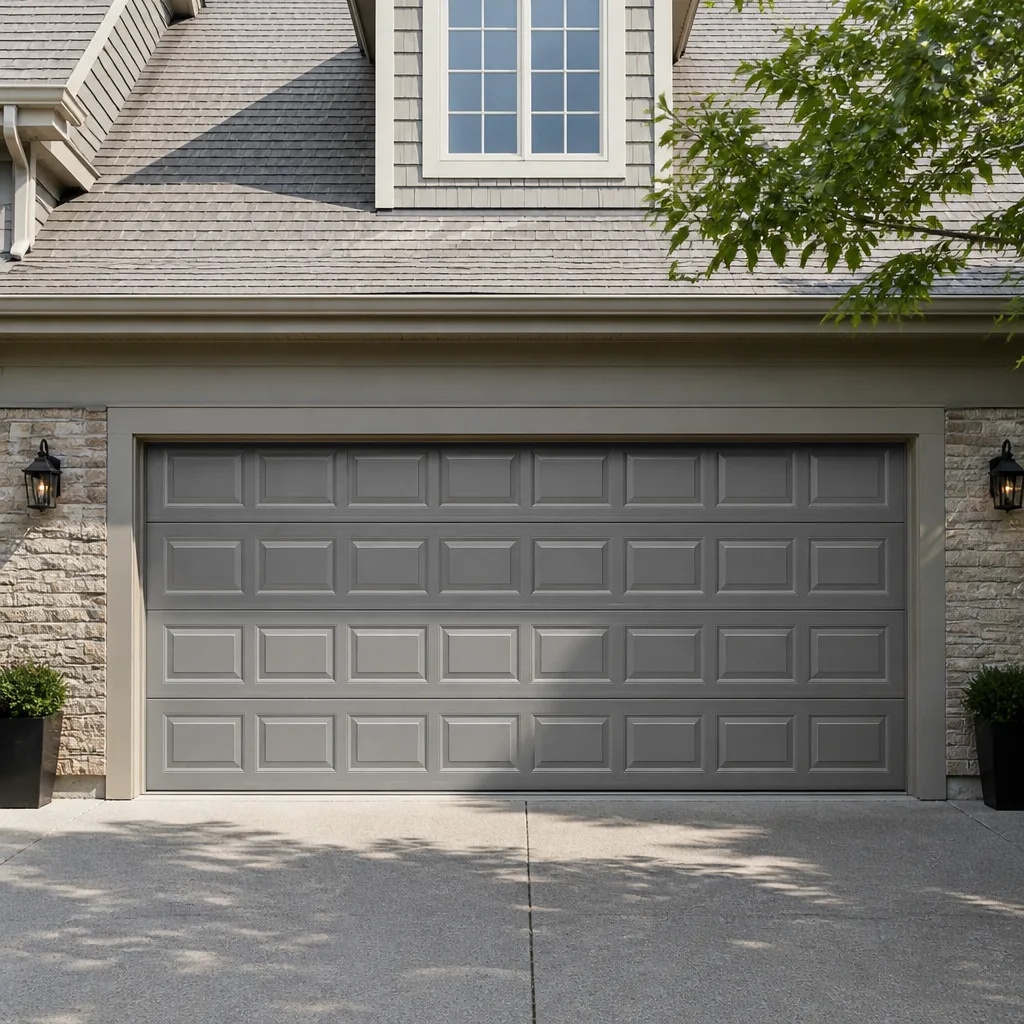 Raised-panel steel
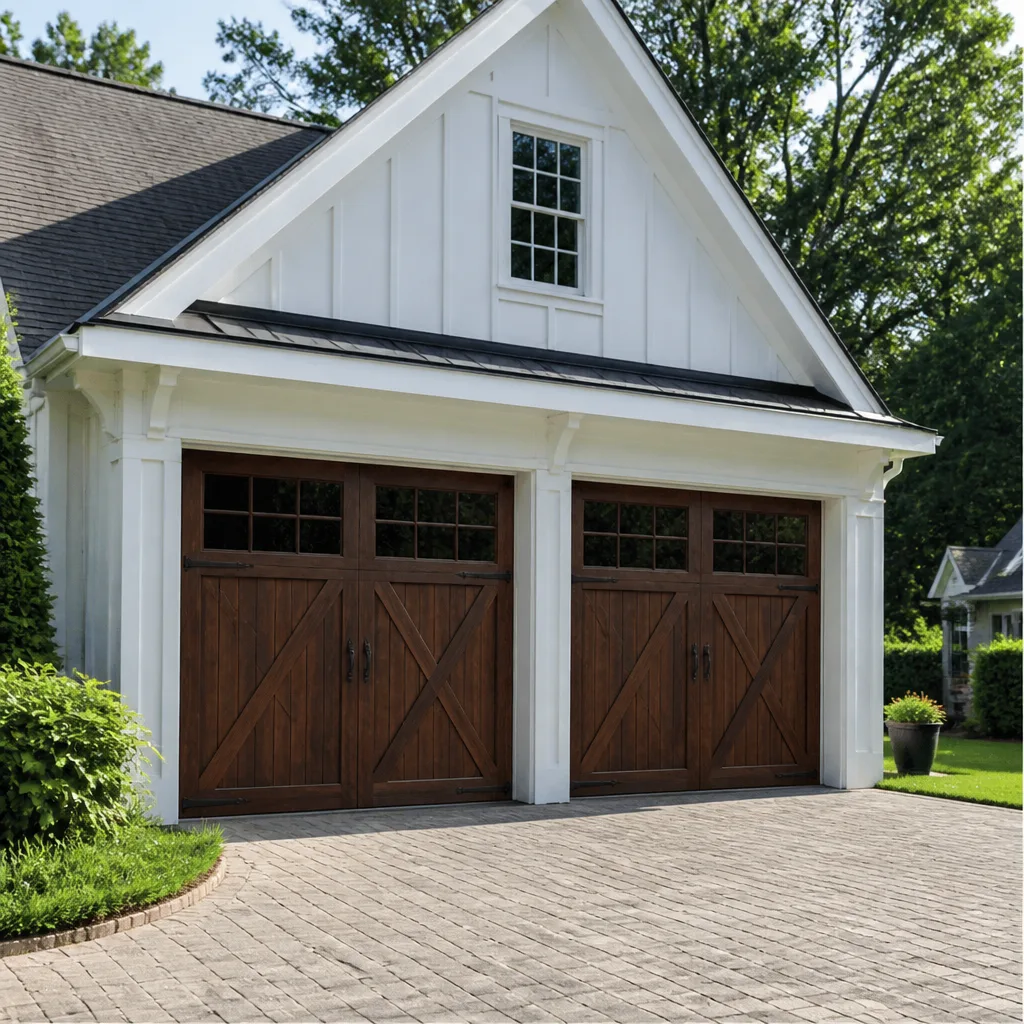 Carriage house
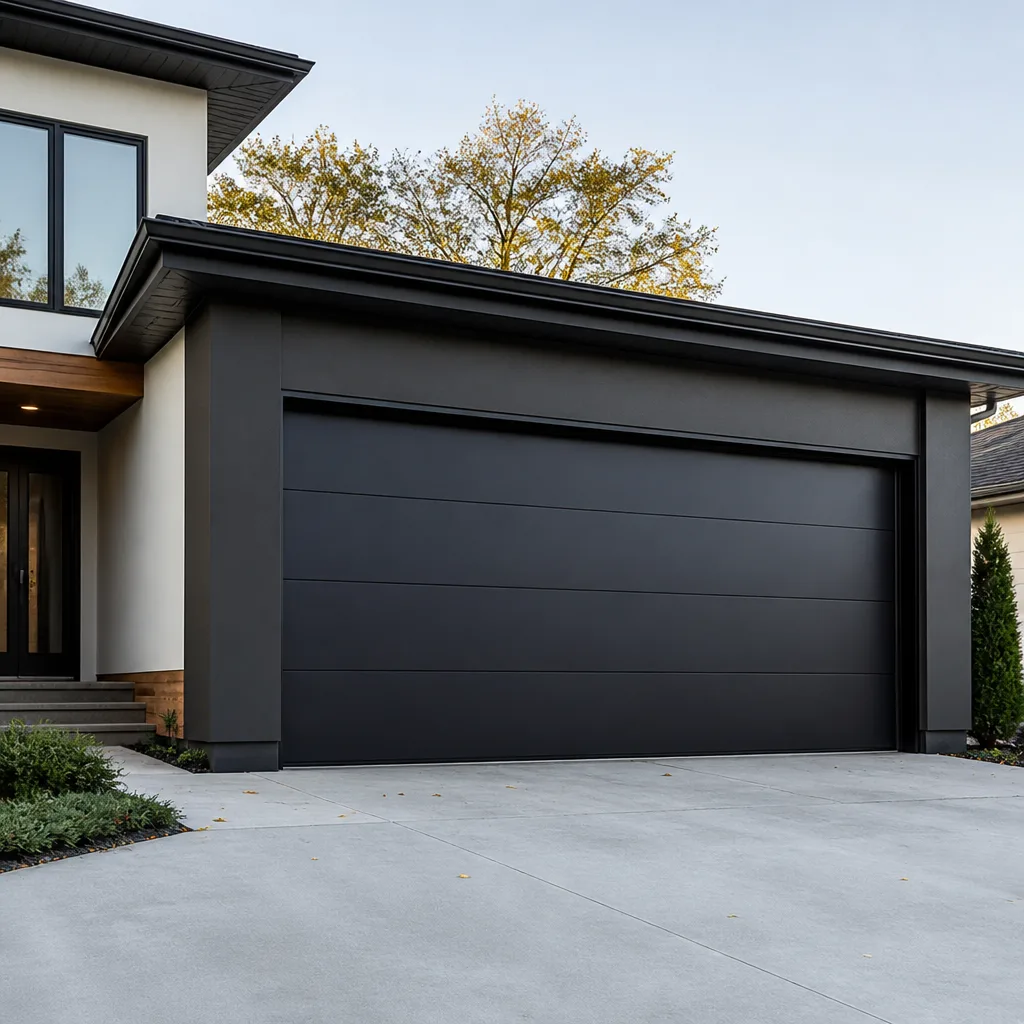 Modern flush
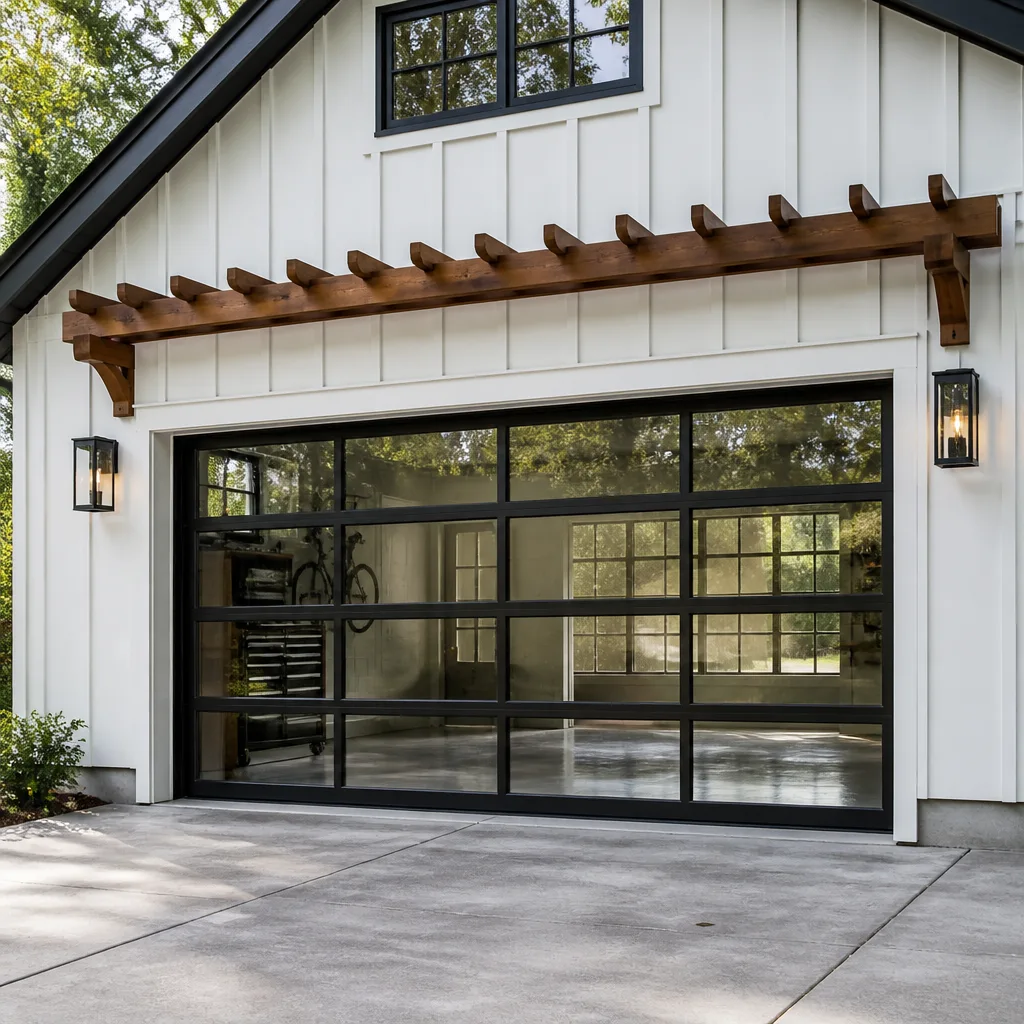 Full-view glass
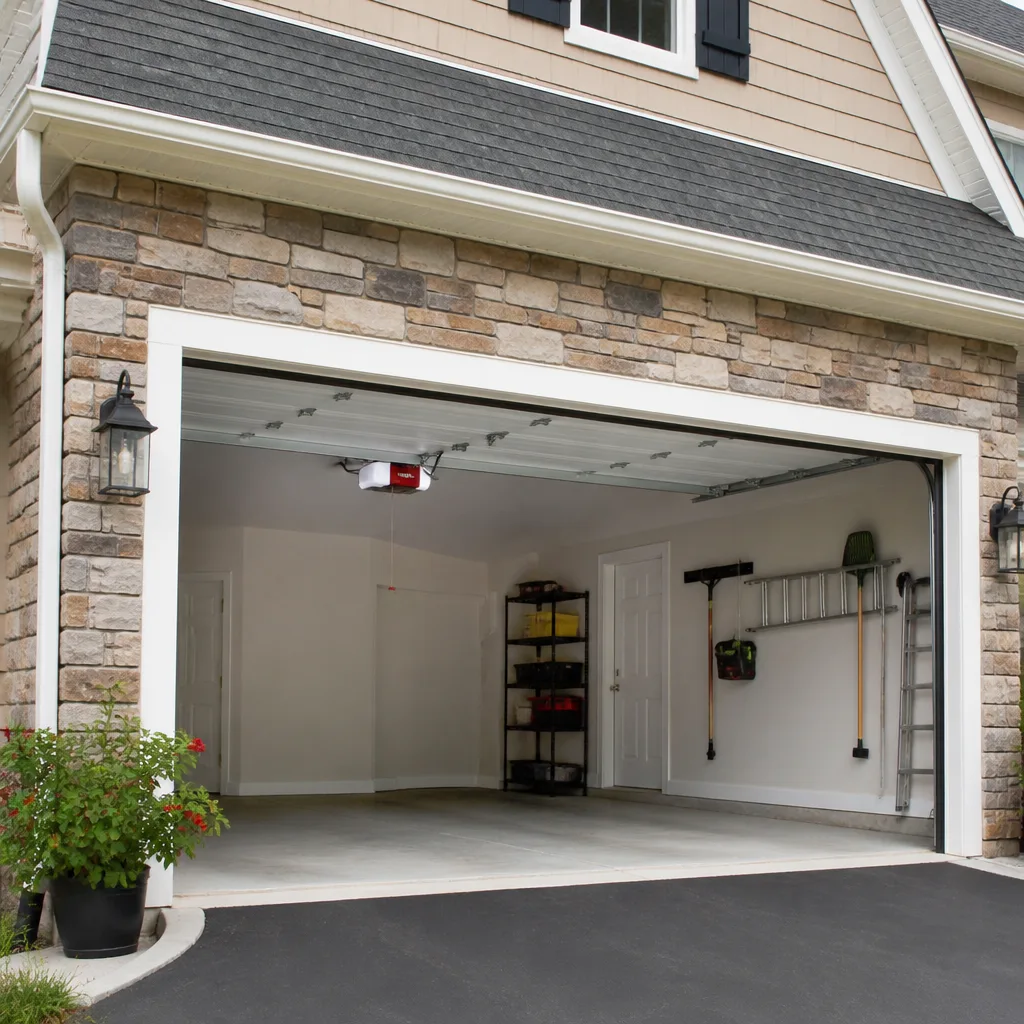 LiftMaster openers
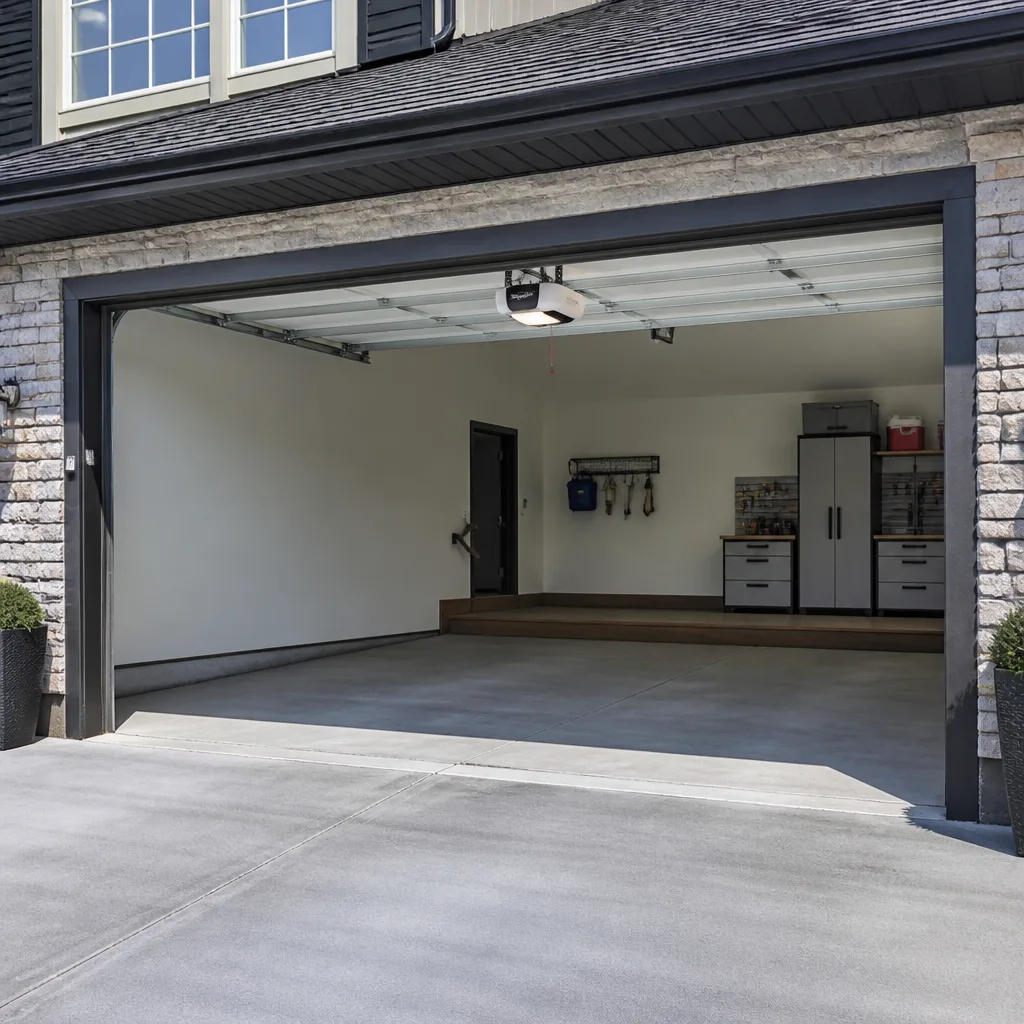 Chamberlain openers
Full 25-point door and opener safety check with every visit - springs, cables, rollers, tracks, and your LiftMaster or Chamberlain opener included
You get a price before we start. It does not change when the pro arrives.
Get your free estimateDIY vs Professional Garage Door: The Norwood Park Homeowner’s Decision Guide
Here’s the misconception worth clearing up first: “should I fix this myself?” isn’t one question. It’s a dozen different questions wearing the same coat. Replacing a photo-eye sensor and replacing a torsion spring both get filed under “garage door repair,” yet one is a fifteen-minute job a careful homeowner can handle, and the other involves 150 – 200 pounds of stored tension that a daily technician still approaches with specific tools and body positioning. Treating every garage door task the same way is how people get hurt or make a small problem expensive. This guide draws the line honestly, task by task, so you know exactly what to take on and what to hand off. If you live in Norwood Park, the climate and housing stock here shape a few of these calls too, and we cover that below.
Styles & brands we work with
- Raised-panel steel
- Carriage house
- Modern flush
- Full-view glass
- LiftMaster openers
- Chamberlain openers
Quick Answer
Safe DIY garage door tasks include monthly lubrication, balancing the door by hand, testing the safety reverse, tightening exposed bolts, and cleaning and aligning photo-eye sensors. Spring, cable, and high-tension hardware work, plus electrical panel connections for a new opener circuit, should go to a trained professional because a slip can cause serious injury. Everything in between, like replacing a remote or a battery-backup unit, depends on your comfort and the specific opener.
Table of Contents
- The Real Question: Risk Calibration, Not Money
- The Task-by-Task Matrix: Safe DIY vs. Professional Only
- Why Springs End This Guide Differently Than Sensors Do
- What DIY Actually Costs When It Goes Wrong
- What “DIY-Friendly” Opener Installation Really Involves
- The Tools You Need for Safe Homeowner Maintenance
- The Strategic Approach: DIY the Simple, Hire the Dangerous
- What Norwood Park Specifically Does to Your Door
- Common Mistakes to Avoid
- When to Call a Professional
- Frequently Asked Questions
- The Bottom Line
The Real Question: Risk Calibration, Not Money
Almost every DIY versus pro article frames the decision as a cost comparison. Add up the parts and the tools against the price of a repair, pick the smaller number, done. That framing is tidy, and it’s misleading. The better question is whether the downside of getting a task wrong is recoverable. If your worst outcome is a misaligned sensor and a door that won’t close, you can retry tomorrow. If your worst outcome is a snapped torsion spring whipping across a garage or a fall from a ladder with a door panel in your hands, the money math stops mattering.
We think about garage doors in tiers, and it’s a useful habit for any homeowner to adopt:
- Tier 1 – Maintenance. Lubrication, inspection, sensitivity testing, sensor cleaning. Low risk, low skill, genuinely worth doing yourself. It also saves you money because it prevents the failures that turn into Tier 2 and Tier 3 problems.
- Tier 2 – Component swaps. Remotes, batteries, photo-eye brackets, weather seals, some opener accessories. Moderate skill, low physical risk. Not always worth paying someone, but worth watching a reliable how-to first.
- Tier 3 – Tension and structure. Springs, cables, drums, bottom brackets, new track installation, panel replacement after impact. This is where the line is hard. Torsion springs, in particular, are the reason a garage door is not like other home repairs.
The rest of this guide walks the tiers task by task, so you can calibrate per job rather than deciding once and applying the answer to everything. That’s the whole point.
The Task-by-Task Matrix: Safe DIY vs. Professional Only
Below is where each common job falls. If a task isn’t listed and it involves anything under tension or anything electrical beyond swapping a plug-in device, treat it as Tier 3 until you’ve checked.
Safe for a capable homeowner
- Lubricating hinges, rollers, and tracks with a garage door lubricant (white lithium or silicone, not WD-40 as a substitute).
- Cleaning photo-eye sensors with a soft cloth and confirming the lens isn’t blocked by a leaf or a spider web. Screen doors and storage bins are common culprits.
- Testing the safety reverse by placing a roll of paper towels or a piece of wood flat under the door and confirming it reverses.
- Tightening visible bolts on the hinges and the door’s outer brackets, with the door closed and nothing active.
- Balancing test: lift the door to about halfway by hand and let go. A properly balanced door stays put. One that slams down or races back up needs a professional look.
- Changing remote batteries and re-pairing a remote using the opener’s learn button.
Fine for a homeowner with some tools and patience
- Replacing a wall-mounted or plug-in opener unit with the power disconnected and the instructions followed. The catch is that a plug-in unit runs on a standard outlet – the moment the job requires a new outlet, new wiring, or a circuit change, that’s an electrician’s job, not a garage door job.
- Swapping a weather seal or bottom rubber if the old one comes off clean and the new one is the correct profile.
- Adjusting opener travel limits and force settings through the opener’s own buttons. LiftMaster and Chamberlain units walk you through this on the housing, and a Genie or Raynor unit is similar. The risk is turning the force too high and letting the door close on something it should reverse on.
- Replacing a worn plastic roller on a hinge – with the door fully closed and the spring left completely alone.
Professional only
- Torsion and extension spring replacement, and any adjustment to a spring that’s already on the door.
- Cable replacement or re-seating a cable on the drum.
- Bottom bracket and drum work.
- New door or new track installation, which involves a much heavier and more precisely bent assembly than most garages have room to handle safely.
- Any opener issue where the opener works but the door doesn’t – that’s usually not an opener problem at all, which is where our garage door opener repair team starts every call.
Why Springs End This Guide Differently Than Sensors Do
The heart of this whole article is that two repairs can be filed in the same category and yet demand completely different postures. A sensor is a low-tension, low-stakes device. You can see it, you can move it, and if you get it wrong the door simply won’t close. A torsion spring is under constant load, storing enough force to counterbalance the entire weight of the door, and it does not announce how much energy it’s holding. That’s the difference in one sentence.
The tools that actually make spring work possible are the reason to know the line even if you never touch one. A proper winding bar set, a winding cone that stays seated, the knowledge of how many turns a spring is wound in proportion to the door’s weight and height, and a clear sense of where to stand when a bar slips. A trained technician can turn a torsion spring over correctly on the first pass because they’ve done it enough to feel when a spring is seated wrong. That’s not a talent a tutorial reproduces.
What we ask homeowners to do instead is recognize the tell-tales that mean the spring has failed and the door needs a professional:
- The door feels impossibly heavy on the way up, or won’t lift when you disengage the opener.
- You hear a loud bang from the garage and the door no longer balances.
- The door sags on one side or closes crooked.
- The springs show a visible gap, or the coils look stretched unevenly.
Any of those means stop using the door and call. Garage door repair for a failed spring is genuinely one of the most urgent jobs in this trade because homeowners sometimes feel a strange false confidence in the first hour. That confidence is the part a guide like this should be aiming at.
What DIY Actually Costs When It Goes Wrong
When a DIY garage door job goes wrong, the cost usually isn’t the spring. It’s what the spring takes with it. That’s the honest arithmetic worth understanding before you start.
The warranty question
Most garage door manufacturers require that installation and tension-component work be performed by a professional to keep their product warranty intact. On doors from Clopay, Amarr, Wayne Dalton, or Raynor, what usually happens is a homeowner removes a bottom bracket or touches a drum and later discovers the warranty on that hardware is voided after the failure. What you save in labor you can lose in replacement parts the warranty would have covered. Ask before you start: is this a task the door’s manufacturer expects to be a homeowner job? If the answer is fuzzy, that’s not reassuring.
The collateral damage question
A slipped winding bar or a mis-seated cable is not a neat failure. A warped panel, a bent track, or a damaged opener can all come out of a single botched attempt. That turns a one-part repair into three: the original part, the collateral part, and sometimes a full door replacement. In practice, the actual costs of a failed DIY job are frequently higher than the quoted pro price would have been – not because technicians are cheap, but because the failure isn’t isolated.
The hospital question
There’s no way for us to honestly report a frequency of DIY garage door injuries. What we can say, from working on these doors, is that the spring-and-cable tier is the one we treat with physical caution on every call, not just the tricky ones. If the trained approach is still careful when the door is fully assembled and the tools are correct, a homeowner’s first attempt with a borrowed bar and an open garage is the wrong place to test the theory.
What “DIY-Friendly” Opener Installation Really Involves
The box says installation is easy. The box is describing the ideal case, in a garage that already has everything the new unit needs. In our experience, it’s the gap between the ideal case and the actual garage that decides whether opener installation is a weekend project or a professional job.
Here’s what “DIY-friendly” actually means once you read past the marketing: installers of a new LiftMaster or Chamberlain unit need a working power outlet in the right spot, a ceiling that will hold the rail and the unit’s weight, an existing door that’s been set up for the new opener’s rail length and arm clearance, and a tension system that’s still healthy. A brand-new installation that predates on an unbalanced or spring-tired door accelerates the failure. That’s the trap: the door looks like it has no choice but to be fine, and the opener is the thing the homeowner notices wearing out. So the opener gets blamed first.
What the box also doesn’t show is the point at which opener installation stops being a DIY job:
- The new unit needs a new or changed electrical circuit. That’s an electrician’s call, not a garage door technician’s, and definitely not a homeowner with a wiring diagram.
- The garage door itself is not balanced, or the springs are tired. Installing a new opener on a door in that condition adds a new consumer to a system that’s already over its rating.
- The rail needs to be mounted where the current header is not – older garages can have a header that flexes, which changes the mounting plan entirely.
If the garage has a standard outlet in the right place, a door that balances, and room for the rail, we don’t tell anyone they can’t install their own opener. Many people do. The recommendation is to have the door checked first, which is the honest reason garage door installation in our practice always starts with a look at the door rather than the opener. A new unit installed on a tired door is the pattern behind a lot of repeat calls.
The Tools a Homeowner Actually Needs for Safe Maintenance
We’re not going to recommend anyone buy winding bars in the name of maintenance. What a homeowner genuinely needs to do safe, useful work on their own garage door is short, and it costs less than most people expect.
- A garage door lubricant. White lithium grease or a silicone spray designed for doors. Not penetrating oil, which cleans the old grease out and leaves the moving parts drier than before. Apply to hinges and roller stems a couple of times a year, sparingly.
- A soft cloth and a small brush. For photo-eye lenses and the channel the door track runs in. Leaves, spider webs, and small debris in the track cause more stuck doors than people realize.
- A socket set with the size the hinged bolts use. Most residential garage doors use a handful of common sizes, and a set covers the tightening job without over-gripping.
- A step ladder and a second person. The second person is not a nice-to-have. If anything happens on a ladder with a door in motion, the second person is what keeps it from becoming a bad situation.
- A wood block or a roll of paper towels. The low-tech way to test the safety reverse. Place it flat under the closing door and confirm the door stops and reverses.
- The one tool that changes the spring equation: not a tool you should buy. If you don’t own a proper winding bar set and know how to seat a winding cone correctly, spring work is a call-a-professional job. A makeshift tool is the common denominator in spring failures that didn’t need to happen.
What we tell customers who ask for the tool list is this: the tools above are for preventing failures, not fixing serious ones. The wrong tools are worse than no tools because they suggest the job is ready to happen.
The Strategic Approach: DIY the Simple, Hire the Dangerous
The most useful decision a homeowner can make isn’t “DIY” or “hire a pro.” It’s a mix. Here’s a simple plan we’d suggest to any neighbor:
- Put a monthly ten-minute routine on the calendar. Lubricate the moving parts, look at the springs and cables, clean the photo-eyes, and do the balance test. This is the DIY half, and it’s the half that prevents most emergency calls.
- Test the opener once a month. One remote press, watch the door close, confirm it stops on the wood block. If the opener ever stops responding or reverses for no reason, that’s an opener repair or a sensor call, not a door-replacement call.
- When something breaks, classify the job. Does it involve tension, structure, or new electrical work? Professional. Does it involve batteries, cleaning, or adjustments to already-installed hardware? Likely safe to try.
- Call for the dangerous tier before trying it. Springs and cables, bent or pulled tracks, and any panel replacement after the door took a hit from a car, the mail truck, or a gust. A trained look at the door’s condition early saves the “I tried and now there’s a bigger problem” call later.
- Keep a trusted contact for the work that matters. Someone who knows your brand, has access to correct parts, and won’t hand the job to an unfamiliar number. That’s why one call covers the spring, the opener, and the door installation together.
That pattern sounds simple and it is. It’s the same approach technicians use, just scaled for a homeowner who doesn’t do it every day.
What Norwood Park Specifically Does to Your Door
Garage doors behave a little differently depending on where they are, and Norwood Park gets a run of both extremes through the year. That matters because the DIY verdict changes with the season and with how the door’s assembled.
The Chicago-adjacent climate here brings warm, humid summers and cold, wet winters, with a lot of freeze-thaw across the colder months. The practical effects for a garage door:
- Wood door panels take on and release moisture. A wood door that’s tight in winter can stiffen or shift slightly in summer, so weather seals need attention and lubrication is more frequent than the manufacturer suggests. Older Norwood Park garages, especially on the bungalow blocks off the Northwest (Blue Line) corridor and in Jefferson Park, often carry wood doors into their third or fourth decade, which makes these checks worthwhile rather than optional.
- Metal doors show the swing in friction and spring load. A torsion spring that’s near the end of its life works hardest on the coldest mornings, which is why a spring failure sometimes shows up on the first cold snap of the season rather than on a random mild day.
- Tracking can respond to ground movement. Norwood Park’s garages sit on soil that shifts across a wet-to-freeze cycle, and a track that’s perfectly aligned in summer can read slightly bent by January. Tightening the visible brackets is homeowner work; straightening the rail under tension is not.
- Local garage stock runs to specific brands. The door hardware in this neighborhood skews toward Clopay, Amarr, and Raynor on the door side and LiftMaster, Chamberlain, Genie, and Craftsman on the opener side, partly because that’s what’s widely installed. We work on all of these, which is why an older garage with a Raynor door and a Genie opener is a job we can walk into knowing the parts.
Norwood Park specifically asks a homeowner to make a seasonal check twice a year: once as the temperature cools before winter and once as it warms in spring. Those are the two transition points when the door’s behavior changes fastest.
Common Mistakes to Avoid
- Treating “garage door repair” as one thing. The category is too broad for one answer. A homeowner who reads “DIY garage doors are easy” and applies it to a spring has misclassified the job, and that’s the mistake with consequences.
- Buying the cheapest spring kit you can find and trying to install it yourself. A wrong-gauge spring that’s close but not right strains the opener and shortens the door’s life. Spring tension is matched to the door’s exact weight and height, and a near-match isn’t good enough.
- Turning the opener’s force settings up to get a stiff door to move. When the door gets hard to lift, that’s a symptom. Raising force on a LiftMaster, Chamberlain, or Genie unit doesn’t fix the spring; it puts more load on the opener and the door. Fix the cause instead.
- Using WD-40 as garage door lubricant. It’s a common mistake because the can is in every drawer. Penetrating oil strips existing grease and leaves the hinges worse off than before. Use a proper garage door lubricant.
- Watching a spring replacement video and getting confident. The video skips and edits. Your garage doesn’t. The reason we’re careful on every spring call isn’t that the tools are exotic; it’s that the consequence of being wrong isn’t reversible.
- Putting off the winter pre-check. In Norwood Park, the cold-first-morning failure is real. A door that’s been hanging on a tired spring through mild weather will let you know right around the first freeze. That’s a bad time to find out your opener is working fine and your door is on the way down.
- Ignoring a door that bounces or reverses for no reason. That’s not a nuisance. It’s the door telling you the balance has changed, and the reason is usually a spring or a cable. Get it looked at before a bigger repair replaces a smaller one.
When to Call a Professional
Call a professional immediately if the door has a snapped spring, a cable hanging loose, a bottom bracket under load, or a door that’s fallen suddenly or hangs crooked on its tracks. Also call if the door moves but the opener won’t trigger it (that’s a door, not an opener, problem), if the door reverses for no obvious reason, or if the door takes two hands to lift. And call if an opener install is going to need a new outlet or a circuit change – that’s a job for the electrical trade, and it’s the point where the safest approach is a coordinated look at the door and the electrical supply before anyone picks up a tool.
Garage Door Repair Norwood Park offers free estimates in Norwood Park. Call (844) 443-3746 and we’ll walk through the task with you before recommending anything. We work on the brand you already have, whether that’s a Clopay door or a LiftMaster opener, and the written estimate is the price.
Frequently Asked Questions
No. Torsion and extension springs store enough force to injure you if a bar slips or a spring lets go mid-wind, and the safest path is having a trained professional replace or adjust them. If you’re unsure, close the door and call before you try anything.
Lubrication, sensor cleaning, safety reverse testing, tightening exposed bolts, and a monthly balance check are all safe homeowner jobs. Springs, cables, drums, bottom brackets, and new track installation are not, because they involve stored tension or structural work. The list in the task-by-task section above is the one to check against, not a general rule.
In many cases it can, because door manufacturers typically expect installation and tension work to be performed by a professional to keep their warranty intact. If the door is under warranty, ask the manufacturer or read the warranty before you open the box, because a warranty question is much easier to solve before the install than after a failure.
Yes, and it’s worth doing, but with a seasonal adjustment. Before the first cold spell, lubricate the moving parts, run the balance test, and confirm the safety reverse. The humidity and freeze-thaw cycle in Norwood Park means checks twice a year, not once, and a garage door that balances well in mild weather still needs to balance on the coldest morning.
The cost isn’t just the original part; it’s whatever the slip takes with it, including a damaged panel, a bent track, or an opener problem. That’s the honest reason to know the dangerous tier and stop before starting. If you’re midway through and unsure, call (844) 443-3746 and we’ll talk through the next step.
Call a professional the moment the task involves a spring, a cable, a drum, a bottom bracket, a bent track, or electrical work the box didn’t anticipate. Also call if your door moves but the opener won’t trigger it, or reverses unpredictably. Call (844) 443-3746 for a free estimate in Norwood Park – We answer 24/7 and fast dispatch runs from 7am to 7pm, Sunday through Friday.
The Bottom Line
The DIY vs professional question gets easier once you stop treating “garage door” as one category. Every task sits somewhere on a scale from low-tension maintenance to stored energy that will not forgive a mistake. If you keep the routine maintenance on your own calendar, make the monthly checks, and stop at the point where springs and cables begin, you’ve made the decision correctly for your door and your family. If the door needs a trained eye, that’s not a failure of DIY spirit – it’s the right call made in advance. We think that’s the version of this guide worth keeping.
Call (844) 443-3746 for a free estimate. We answer 24/7. Fast dispatch from 7am to 7pm, Sunday through Friday. Our technicians have up to 8 years of experience, and Garage Door Repair Norwood Park is ready to look at your door and quote a written price before any work starts. For repairs of any kind, see our Garage Door Repair Norwood Park page and we’ll take it from there.
Written by the team at Garage Door Repair Norwood Park.
See the difference
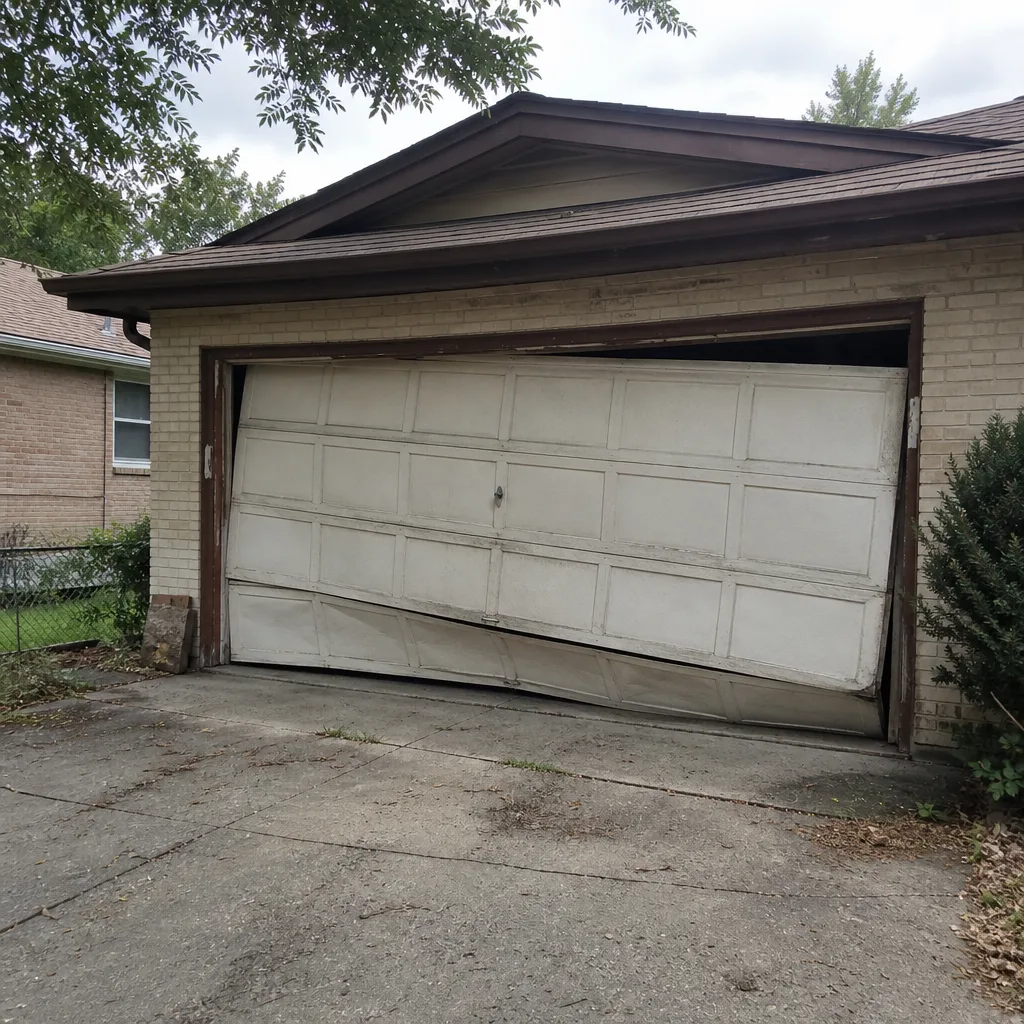 Before
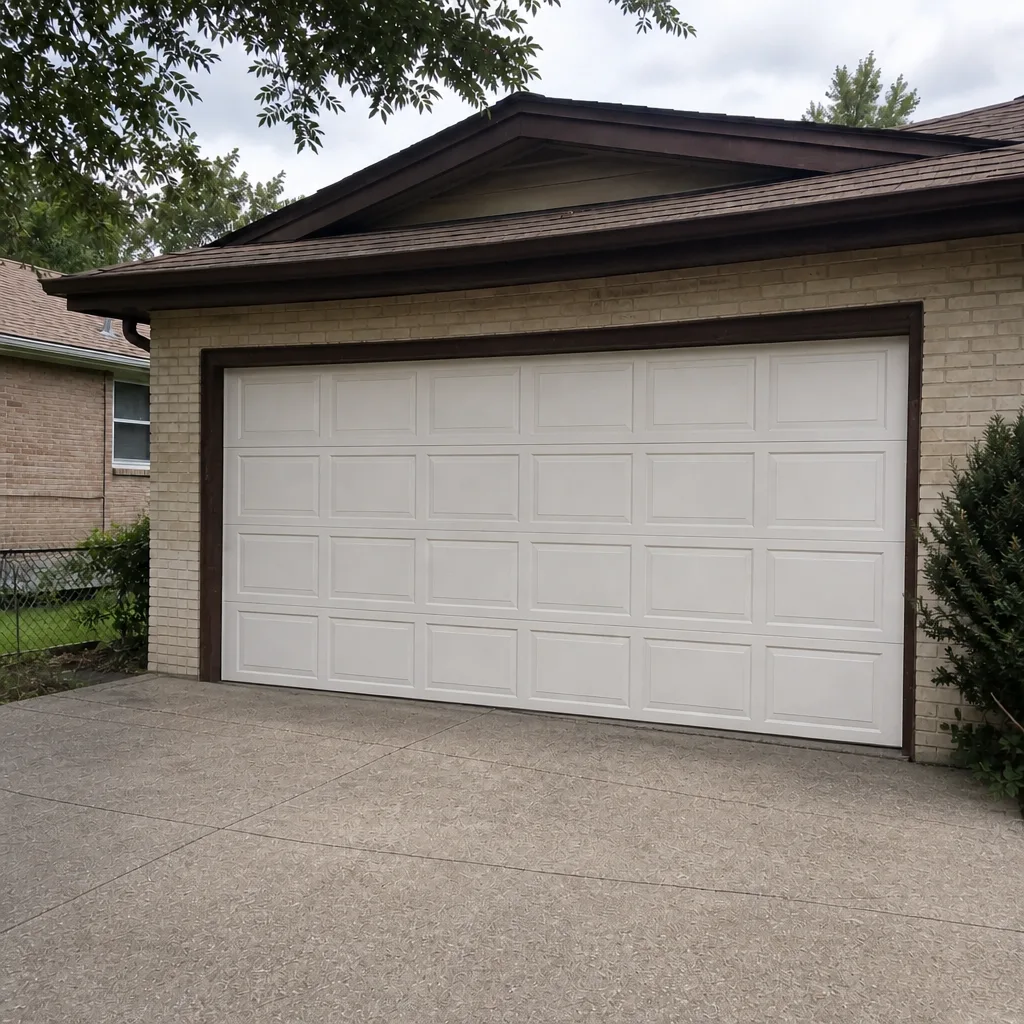 After
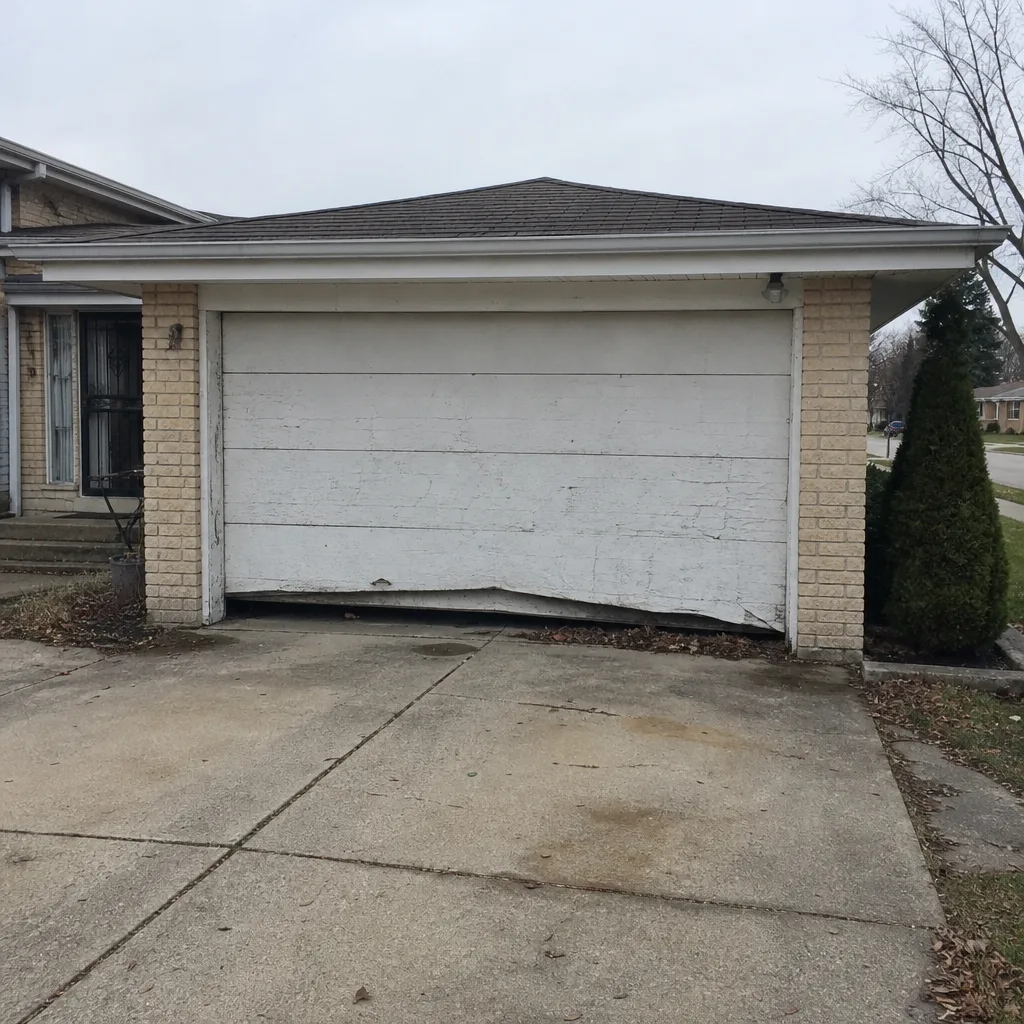 Before
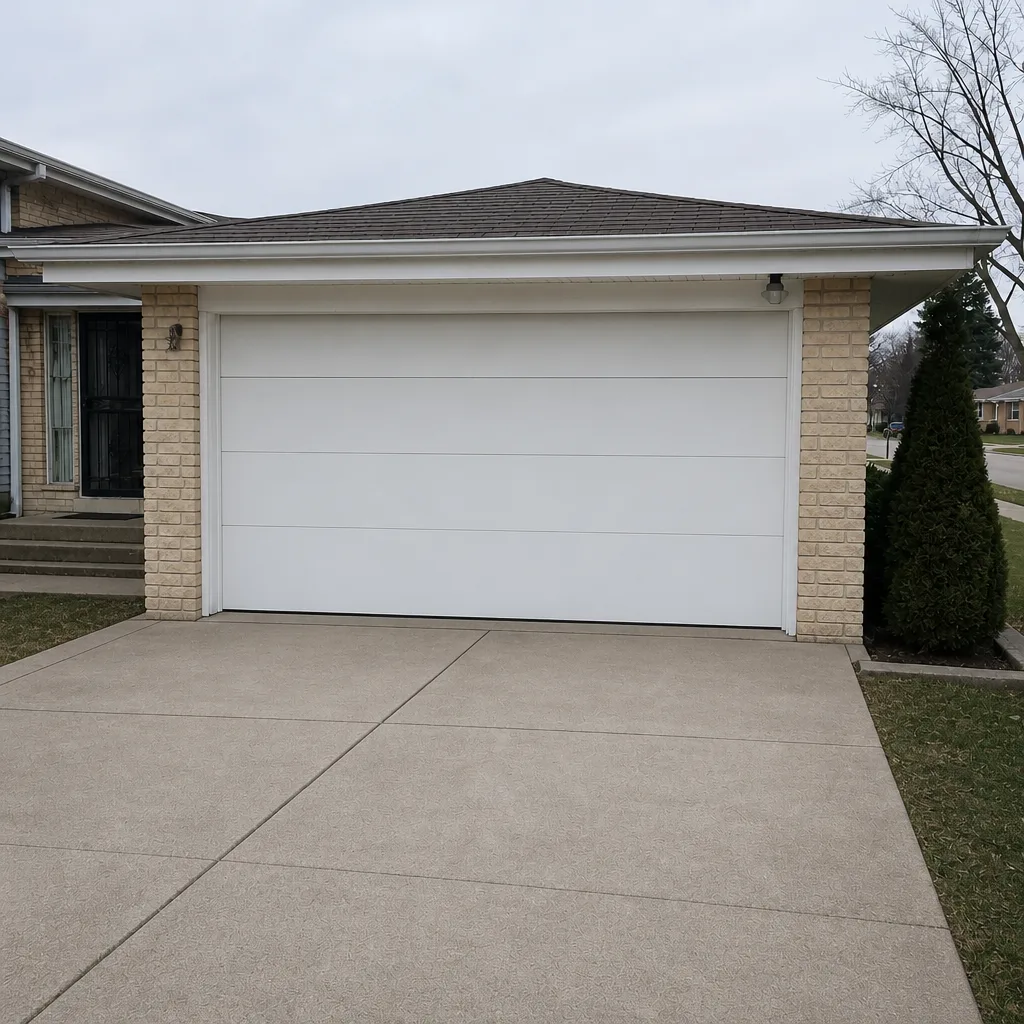 After
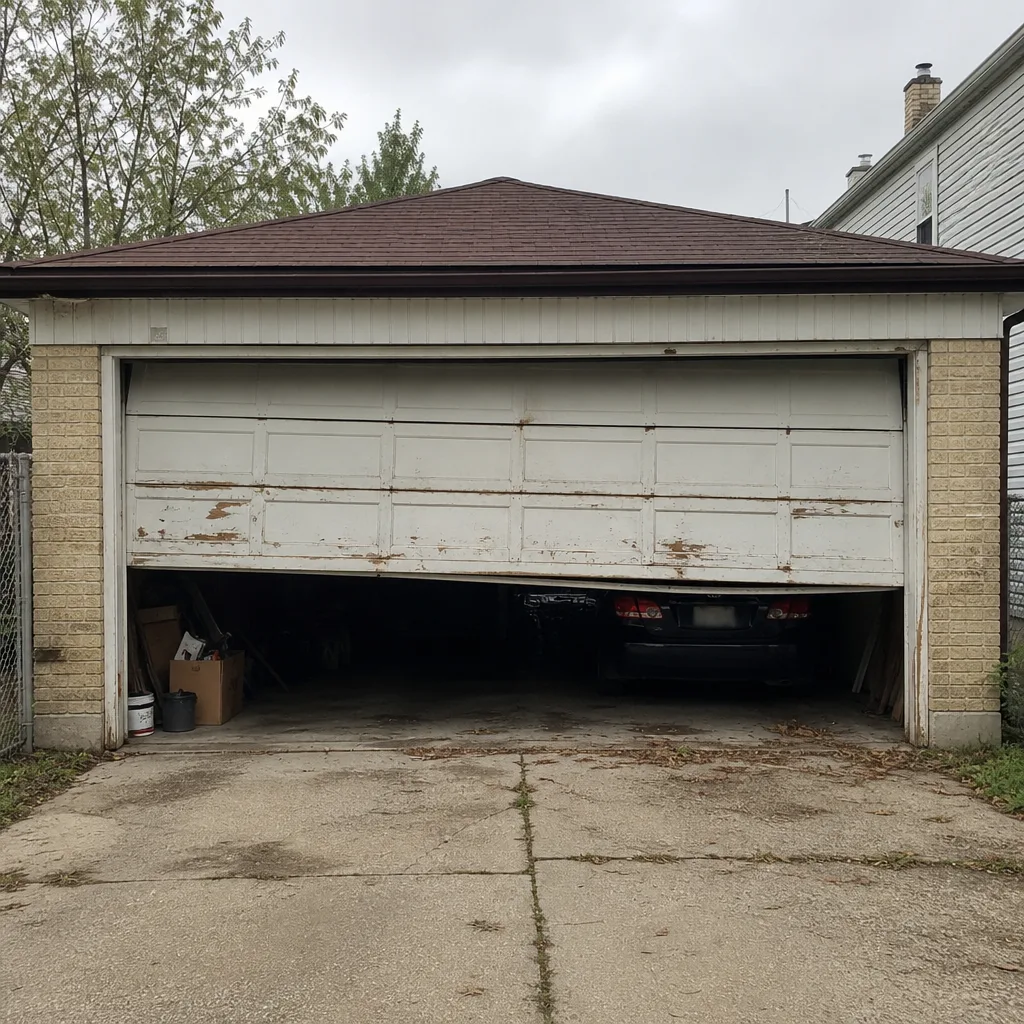 Before
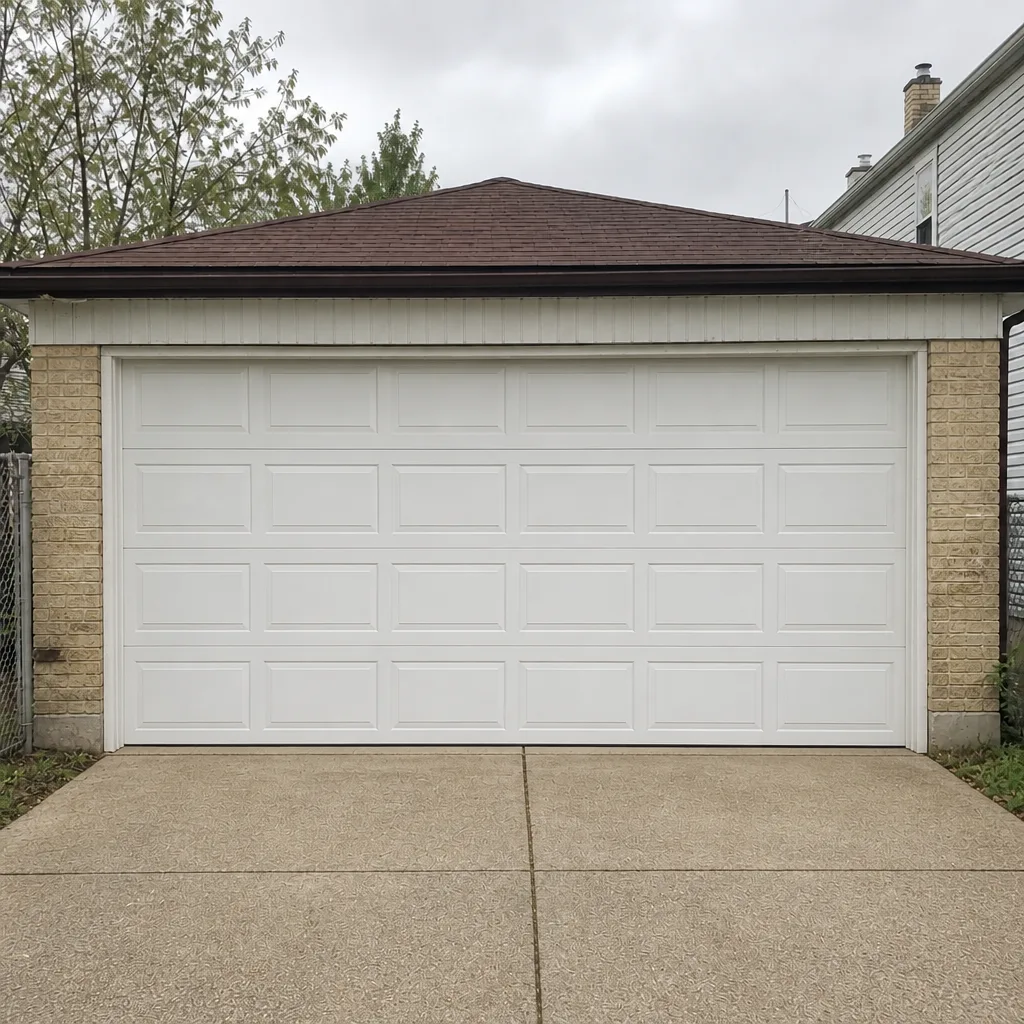 After